Design Plans & Construction Photos
Here are some of the design plans and sketches I drew up for the studio. It was definitely a learning experience since I had never done anything like this before. Research is the number one thing to get right, because you can avoid a lot of unfortunate mistakes if you do your due diligence on research first. For months I lived and breathed studio construction/acoustics books, and online forums for studio design/construction were my virtual homes. I spent a lot of time just asking questions and refining my designs. Rod Gervais was especially helpful (he wrote one of the books I studied and also moderates one of the discussion forums). If any of you are thinking about building your own studio or treating the acoustics/sound isolation, definitely check out his book Home Recording Studio: Build It like the Pros.
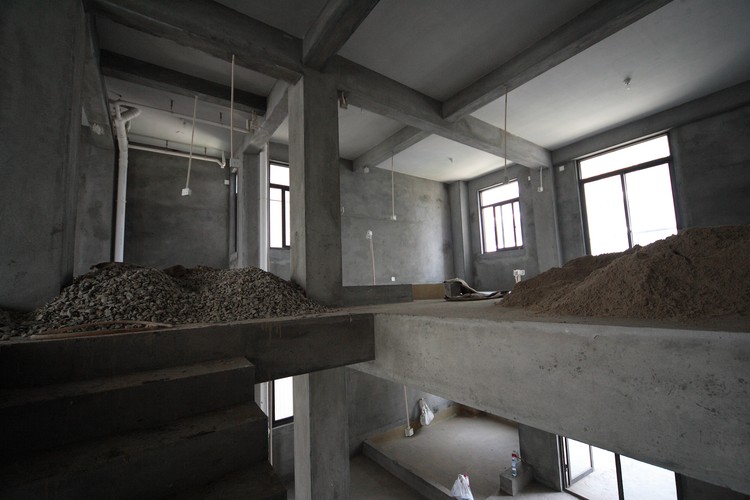
Although I had some flexibility in the design of the studio, this is what I had to work with as the foundation. I wasn't happy about the fact it wasn't perfectly symmetrical, but the dimensions were at least pretty good.
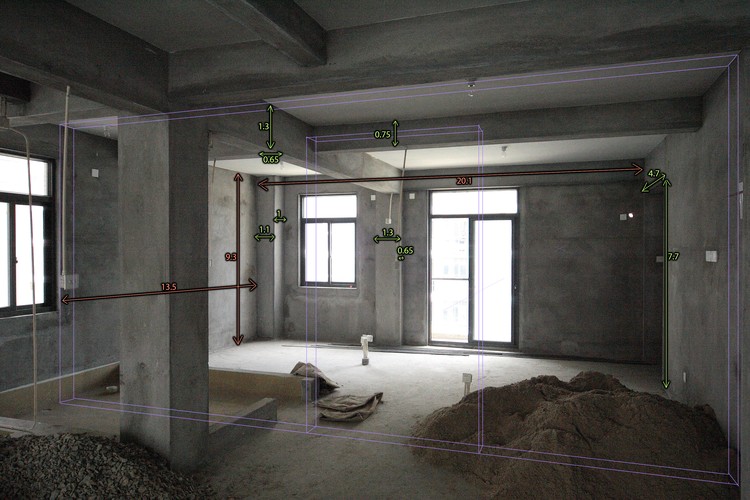
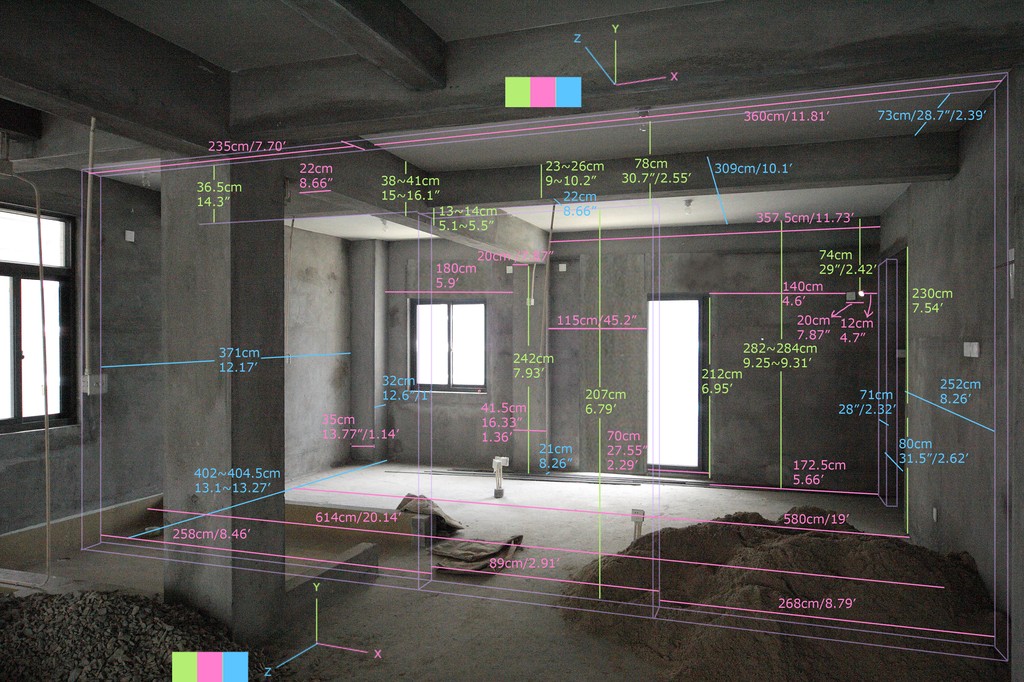
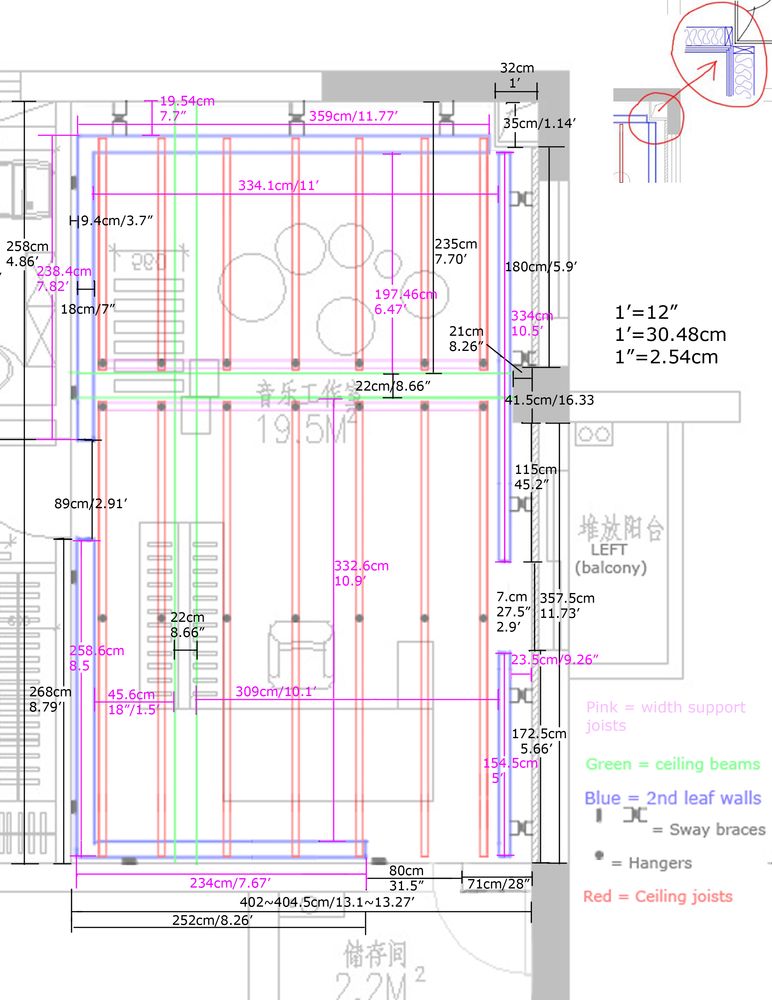
Detailed measurements for the room. Also, you can see that I sealed off half of the sliding door to the balcony so there are less highly reflective surfaces (and you'll see later that I took care of the other half too and also the windows).
I did some early mockups with the SketchUp 3D software (most of the props were ready-made ones by other SketchUp users)
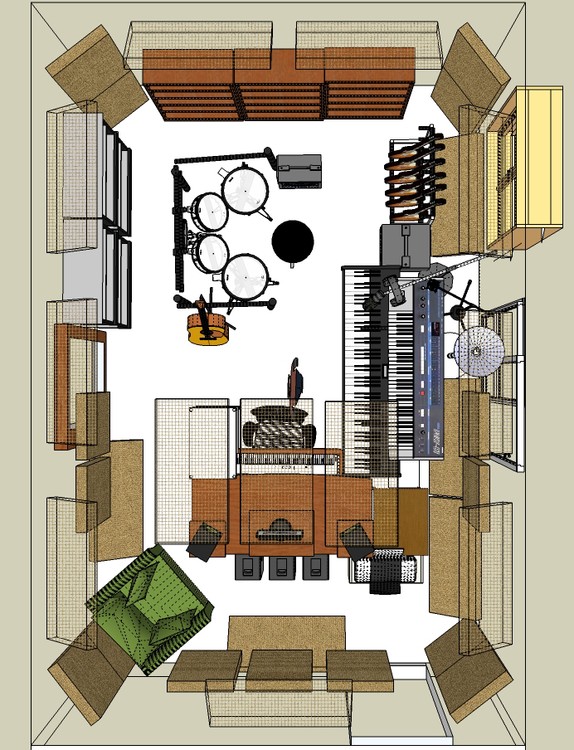
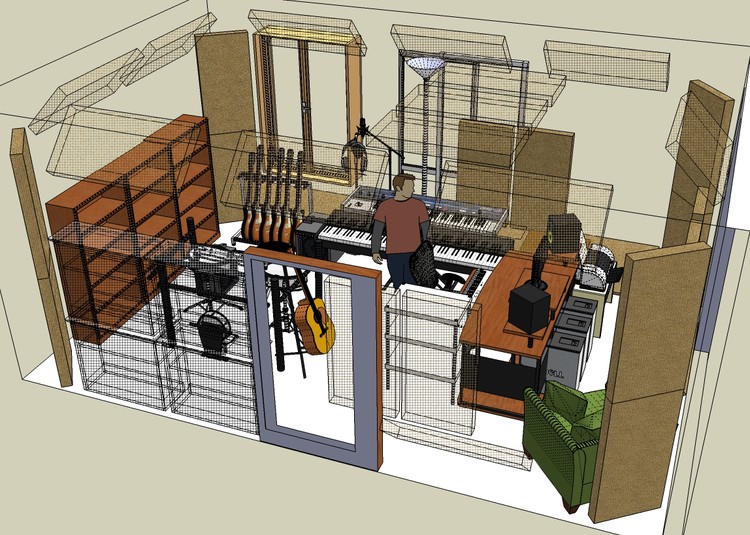

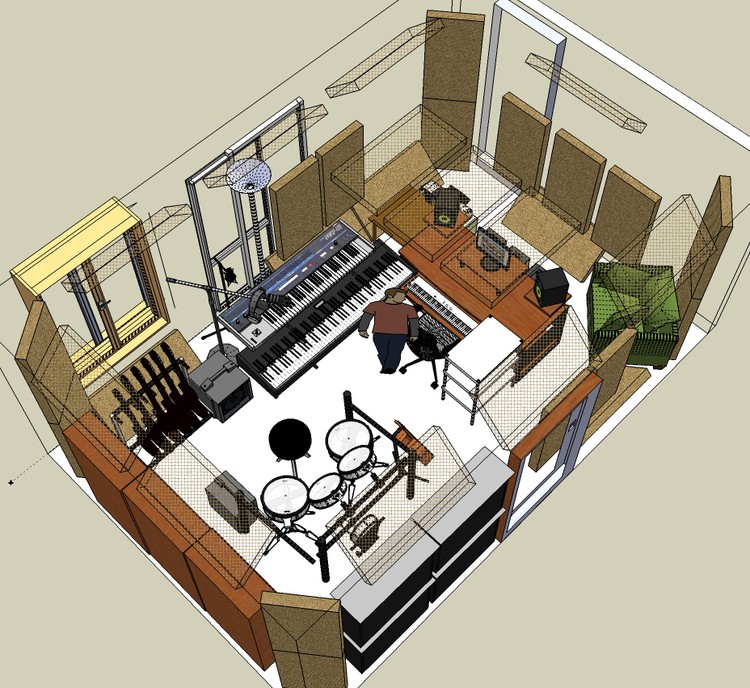
As you can see, the final layout and placement is quite different from these early mock-ups.
My early design also had extensive room-in-a-room approach that minimized structural noise.
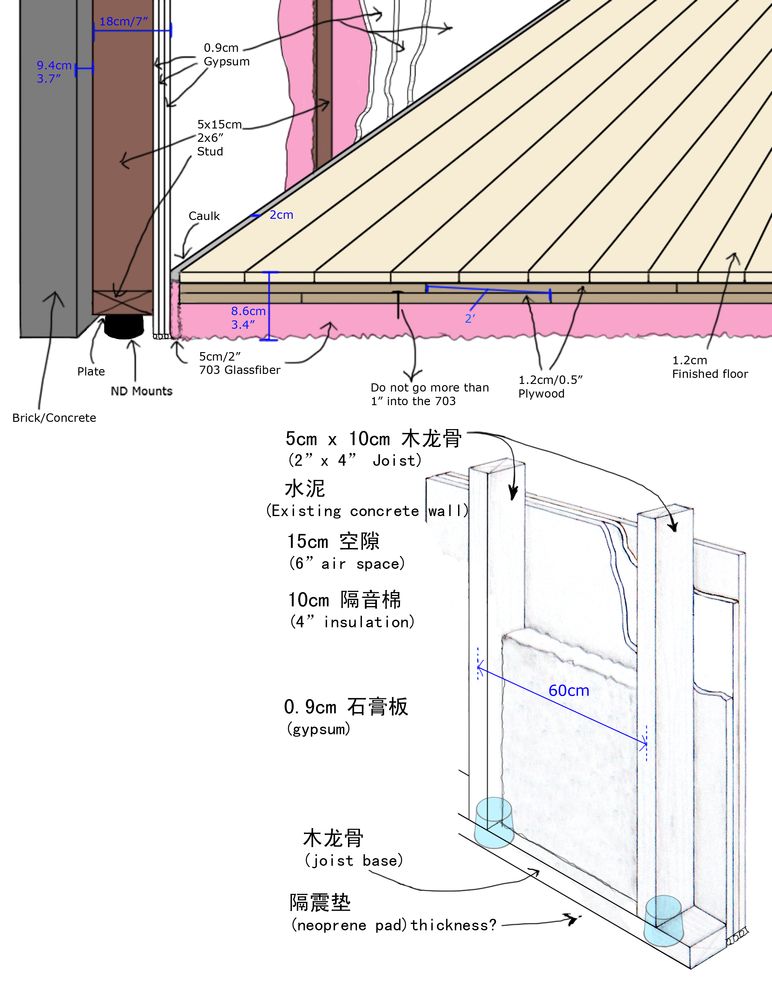

The whole idea of isolation from structural noise is completely decouple the entire room from the rest of the building, so other people slamming the door, banging on walls, running around...etc would not be transmitting the impact/vibration to your studio.
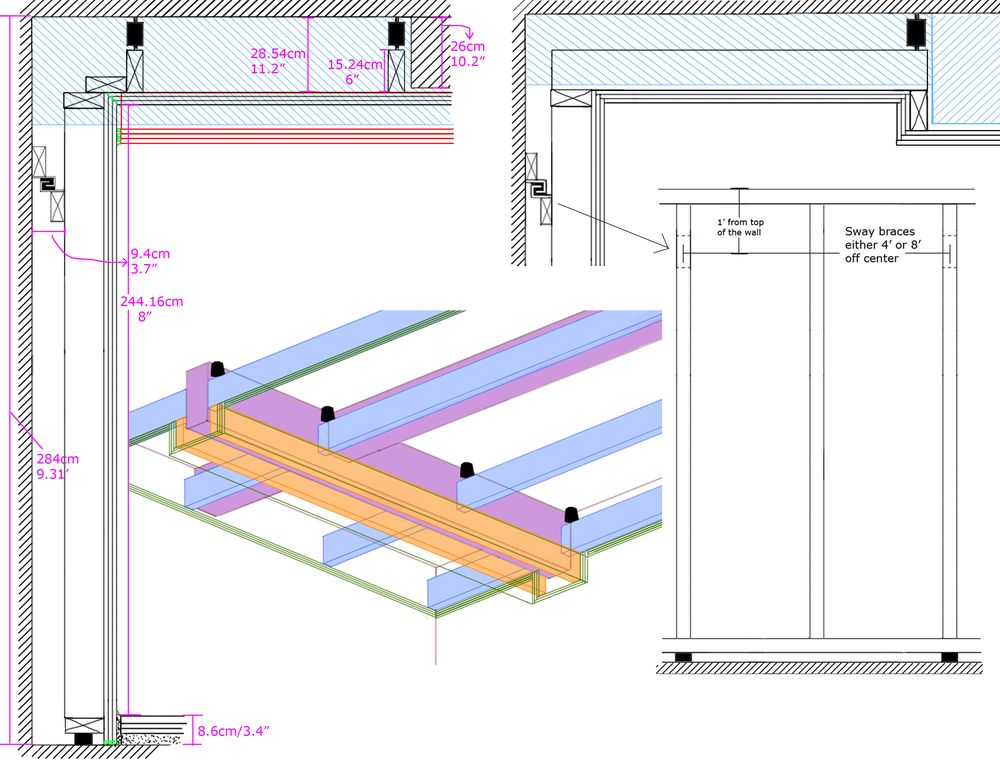
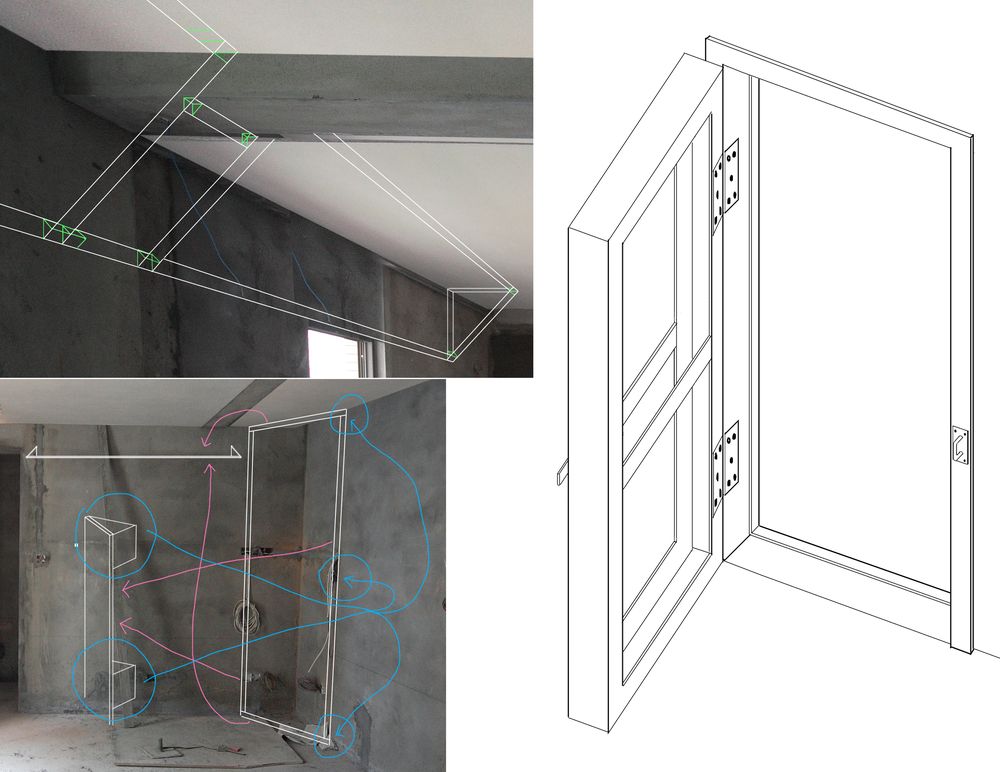
The ceiling is decoupled with shock-absorbing hangers; the walls are decoupled with sway braces and on the bottom with suitable shock-absorbing mounts/pads, and the floor with glassfiber panels.
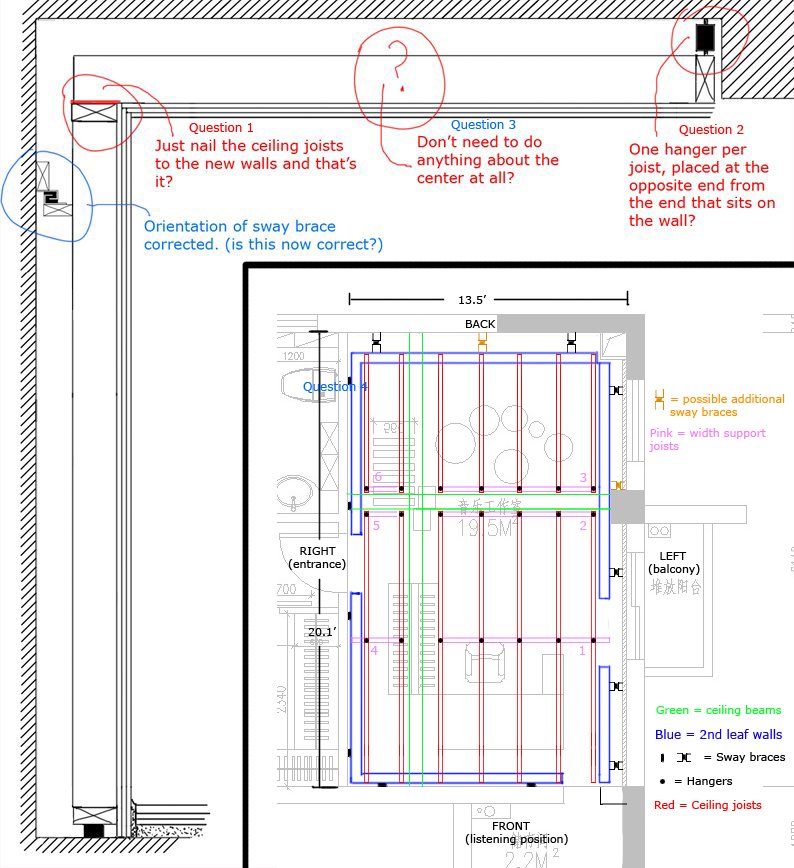
The ceiling plan was especially trying since I was one of those kids that regularly flunked math (I would be drawing or writing screenplays while in class).
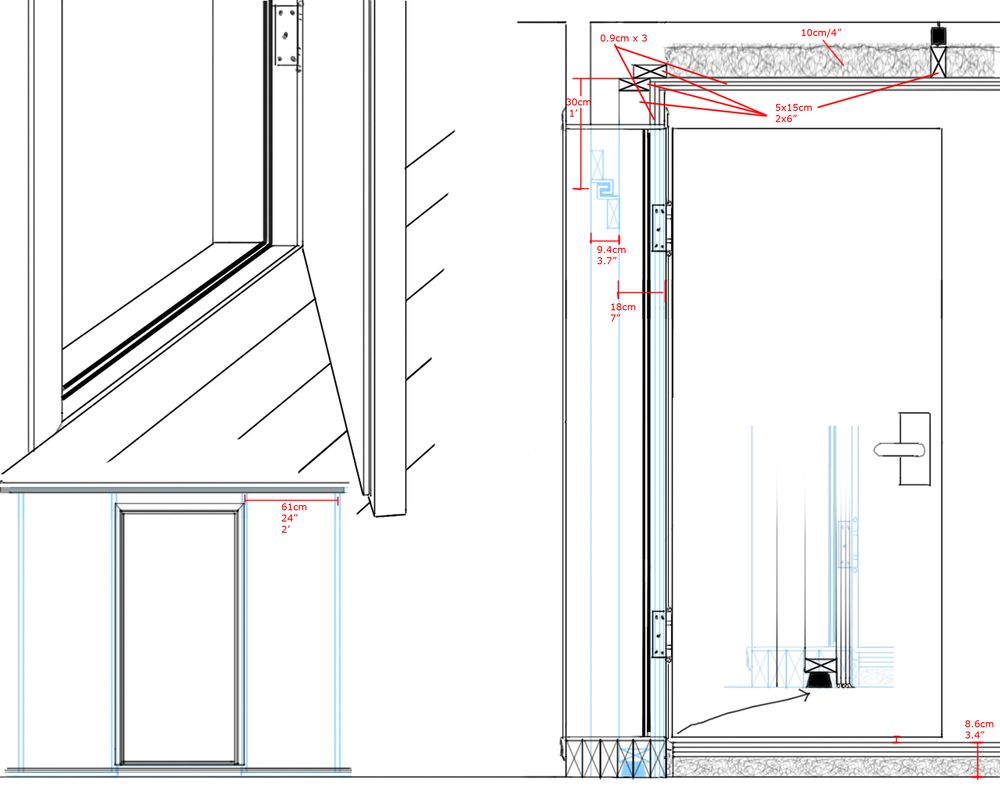
This is the door design:
I would also draw up stuff and ask questions to the experts on the discussion forums:
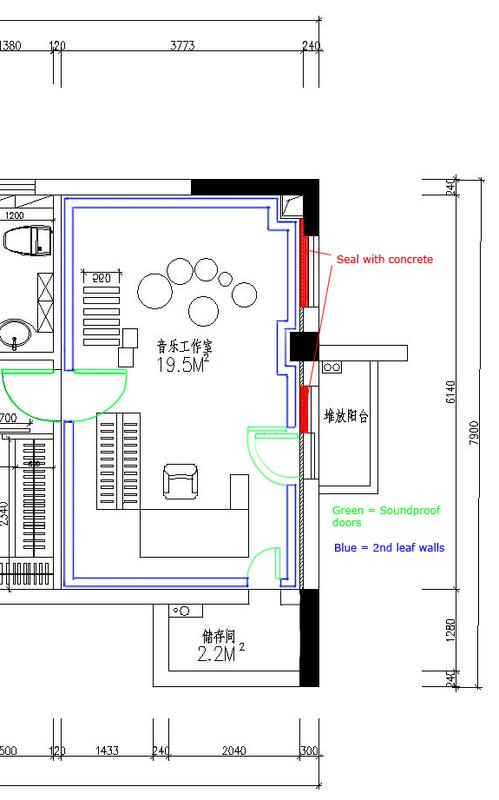
Originally, I had planned to seal off the window and half the sliding doors to the balcony with concrete, but then I decided since I could put acoustic panels in front of the window, I could leave it and enjoy some daylight. I did seal off half of the sliding doors and ended up putting in a second layer of frameless glass door, which pretty much kills all air-borne noise. I then also added a door with weather seals and that just about eliminated any possibility of air-borne sound from the outside. The window also got another layer of frameless glass. The storage room ended up having its door made as a giant bass trap. Here's the design for the storage room door/bass trap:
The main door to the studio is only weather sealed, since I realized without room-in-a-room design, the weather sealed door while enough to block out anyone talking or watching TV outside, will not block out structural noise, so there was no point in reinforcing it any further. There are just two of us anyway and we rarely ever have guests.
I spent the most time on the room-in-a-room aspect of the plan, but in the end, I realized it would've made the studio a bit cramped. I could've expanded the width of the studio at the foundation level, but it would've offset the bathroom window next door, and it would've also made the room dimensions closer to a square, which is not ideal. In the end, I abandoned the room-in-a-room part of the plan, and I regret that decision to this day. Structural noise is not a joke. Someone chopping steak in the kitchen could send structural noise up into the studio--not fun. I guess if I have the chance to build another studio in the future, that's when I'll go full out and get everything right. I definitely had all the preparation done this time around--I just didn't have enough space to execute the plan.
The rest of the designs are strictly acoustic treatments only.
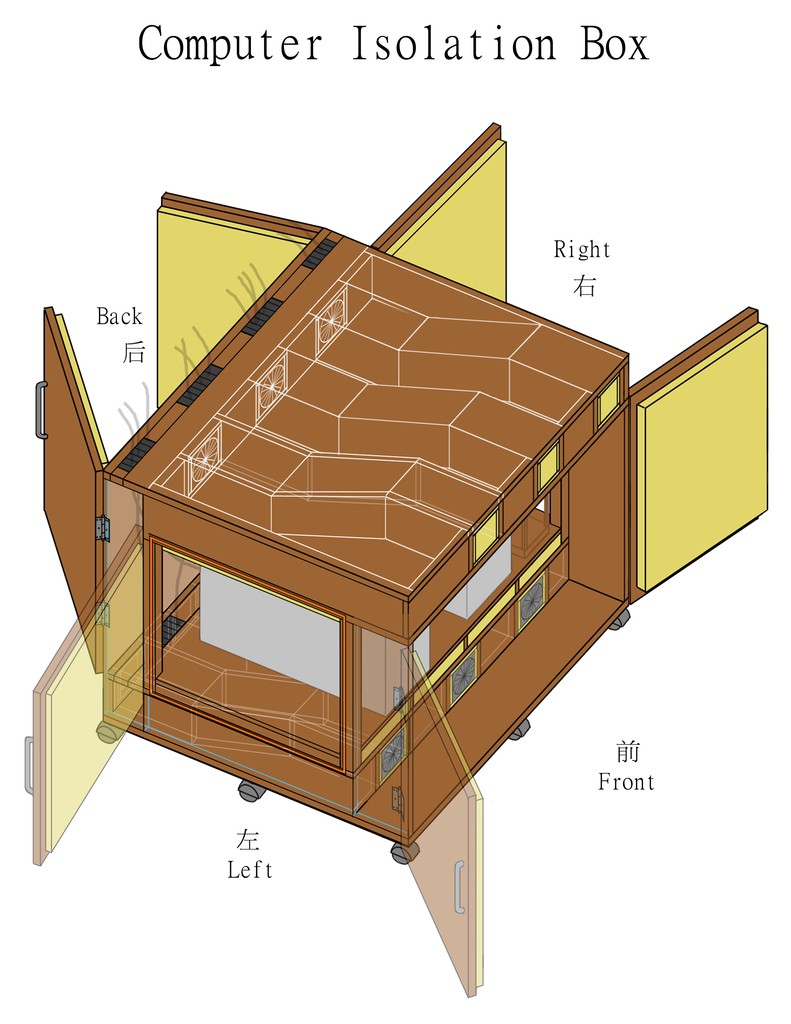
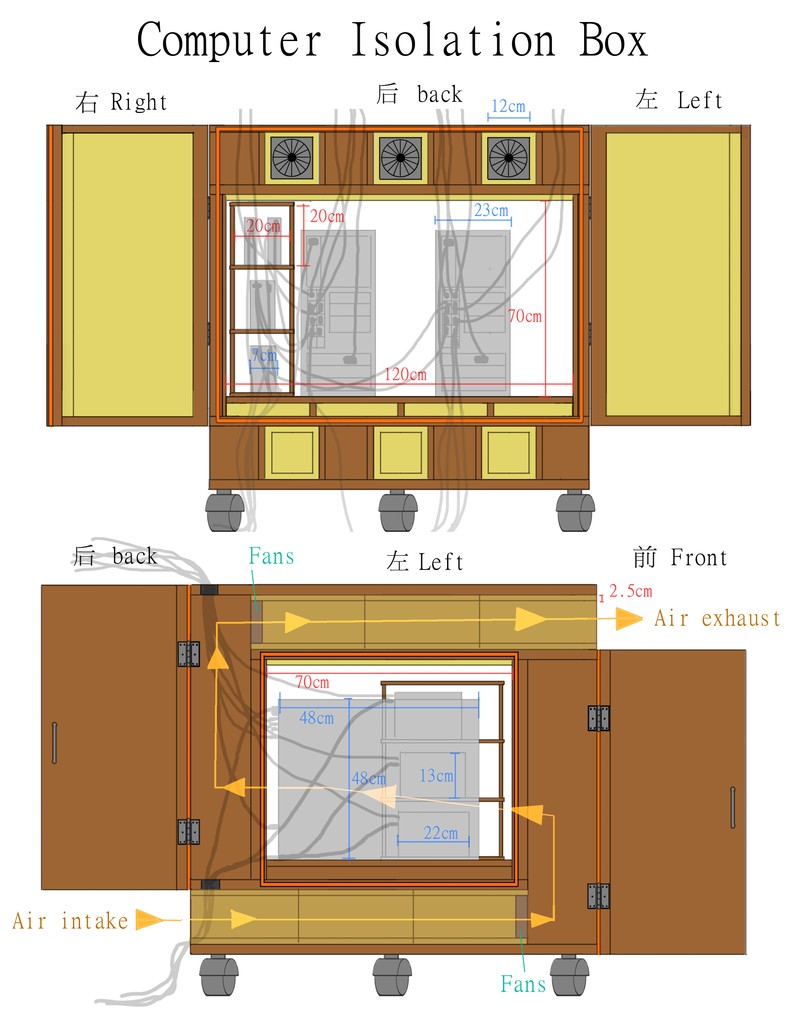
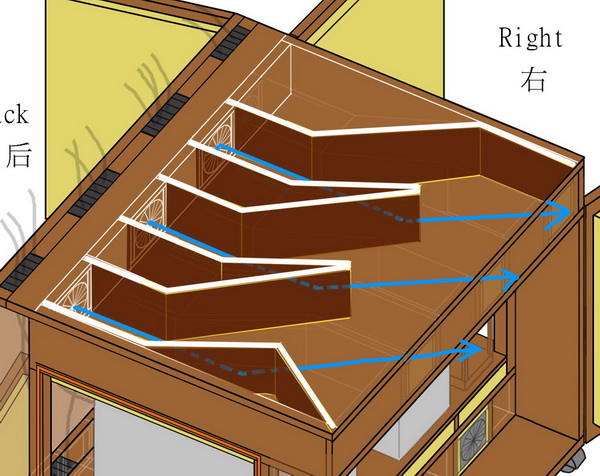
The original computer noise isolation box I designed. I decided it was too elaborate and an overkill, so I dropped this idea. I'm now working on a simpler design that uses fewer fans and should be just as effective and flexible.
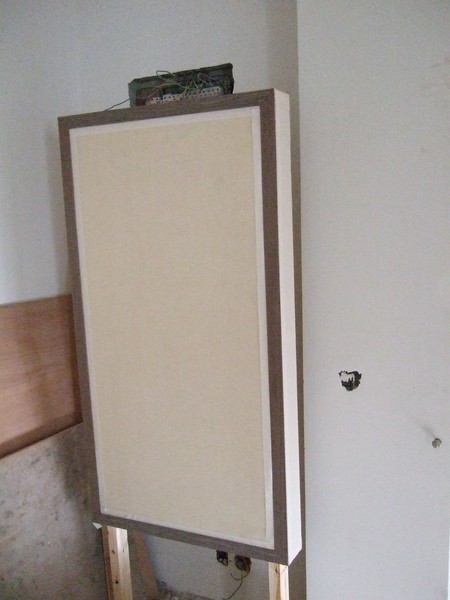
I made this image to show the workers what I was after for the wall and movable acoustic panels. The image on the far left is actually part photo and part hand-painted (such as the two wooden legs). The other photos are references I gathered online.
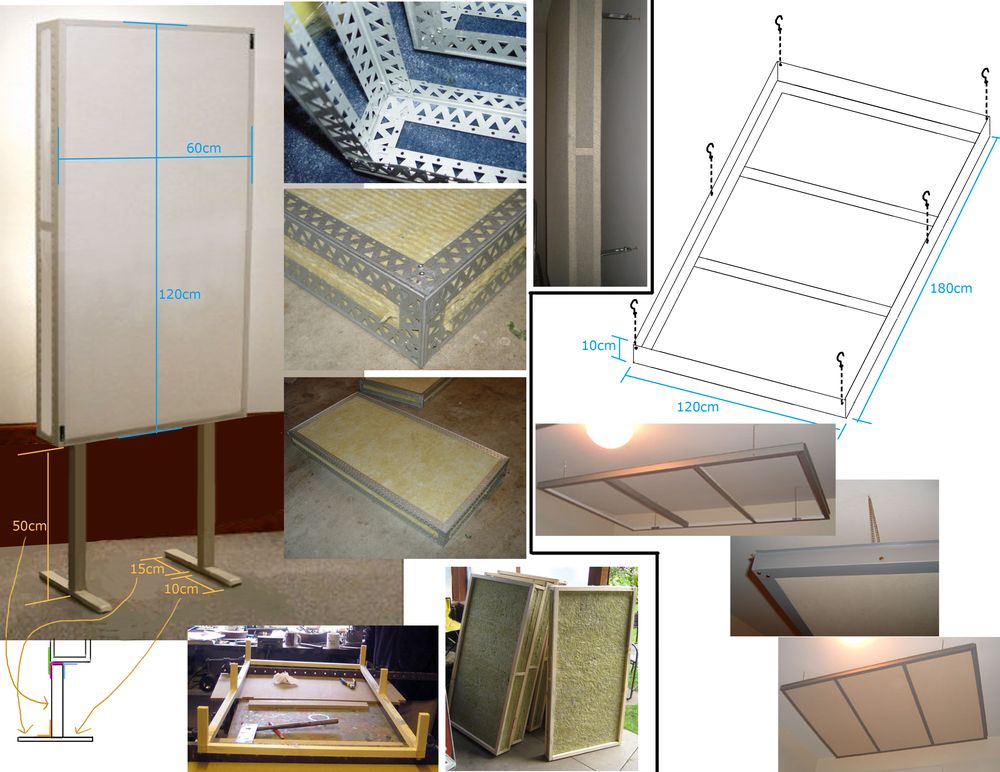
The ceiling panel in the image is quite primitive, and the final version is far more elaborate, since it's mounted on a moving rail system so I can slide it forwards and backwards depending on my listening position.
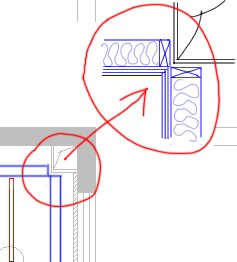
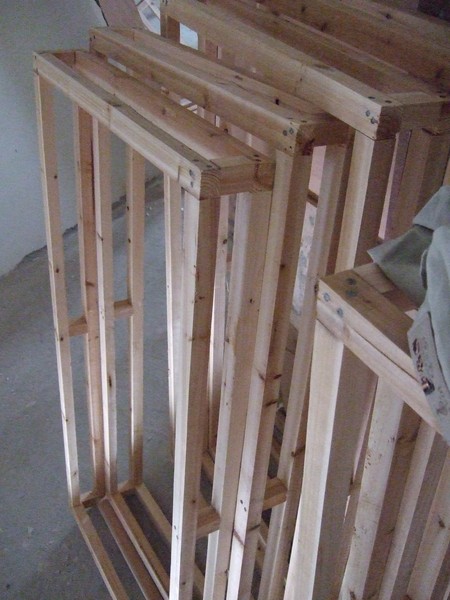
The wall/ceiling corners are lined with "superchunks," which are the glassfiber panels cut into triangles and then stacked. They made very effective bass traps--more so than just angling a panel at the corner.


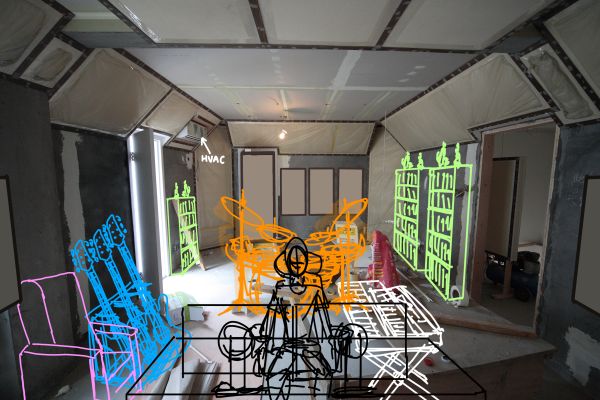
Sketching over photos of finished acoustic treatment of how I might place everything in the studio
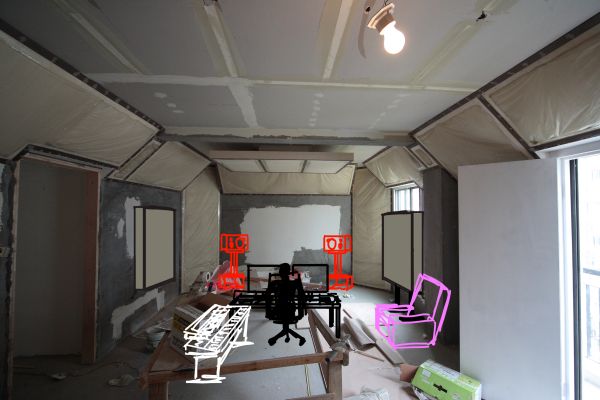
This last one is pretty much what I ended up doing.
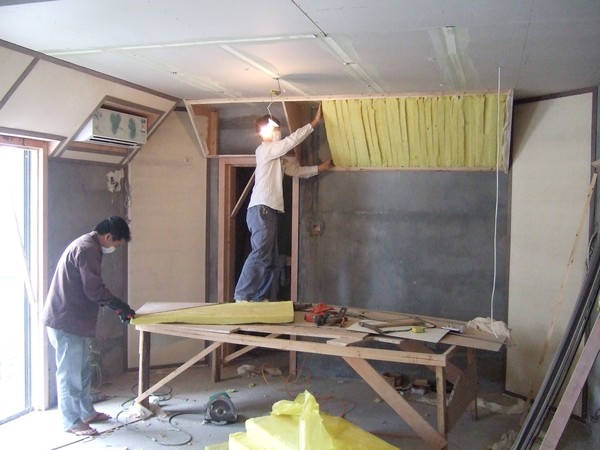
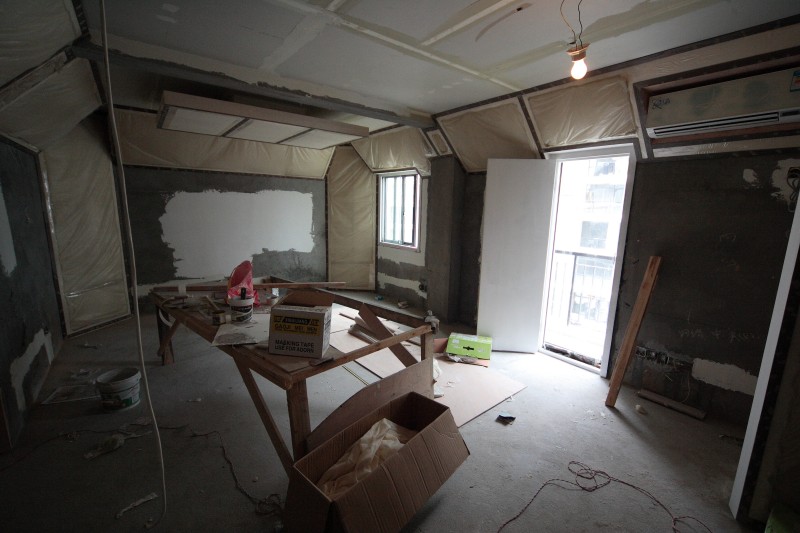
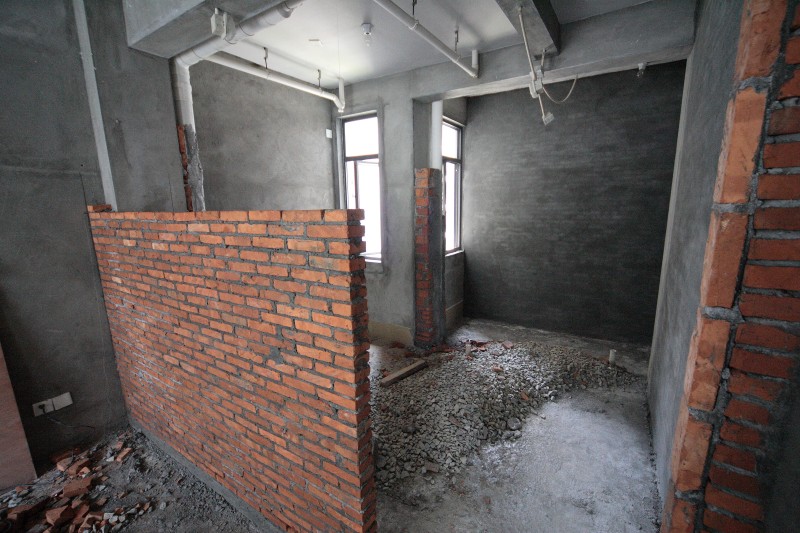
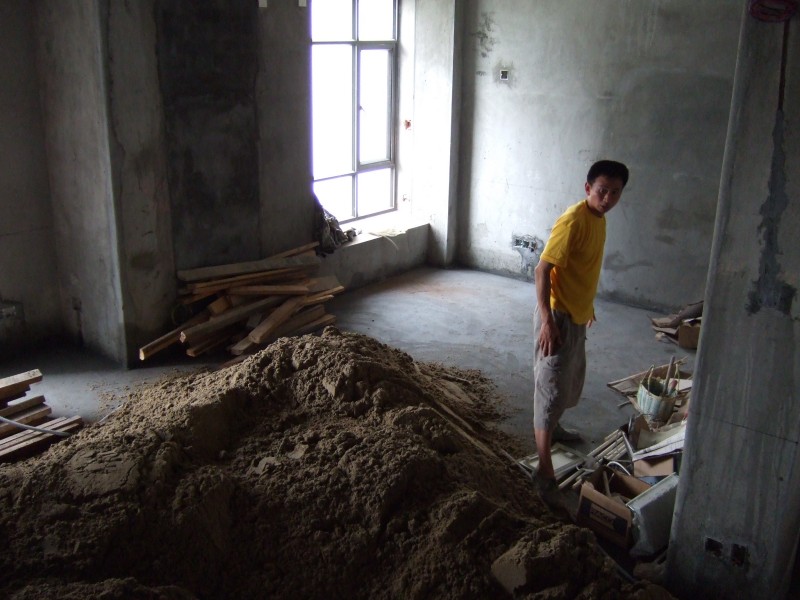
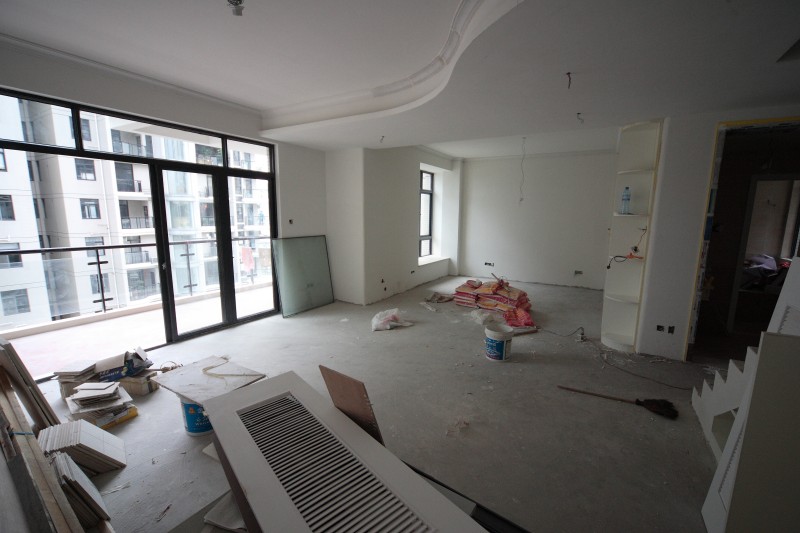
And here are some construction photos.
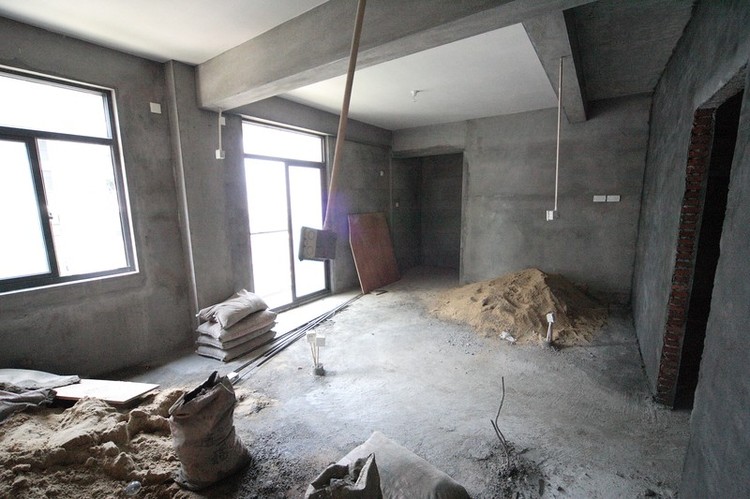

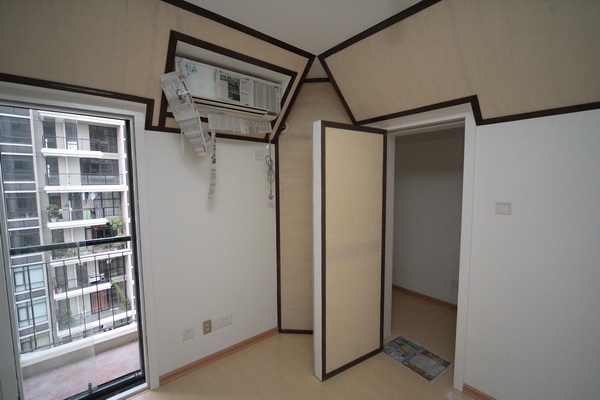
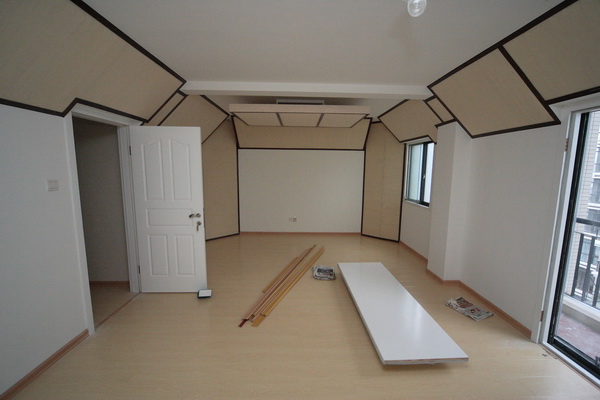
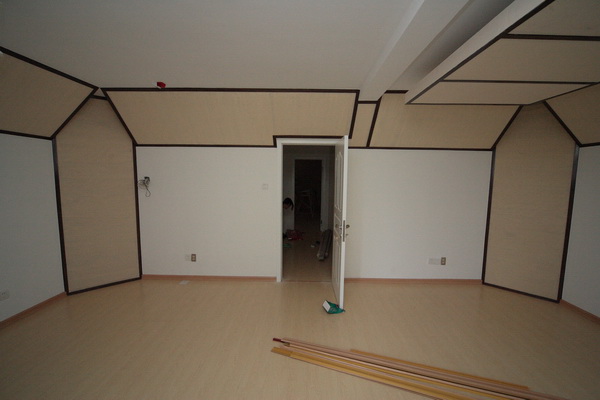
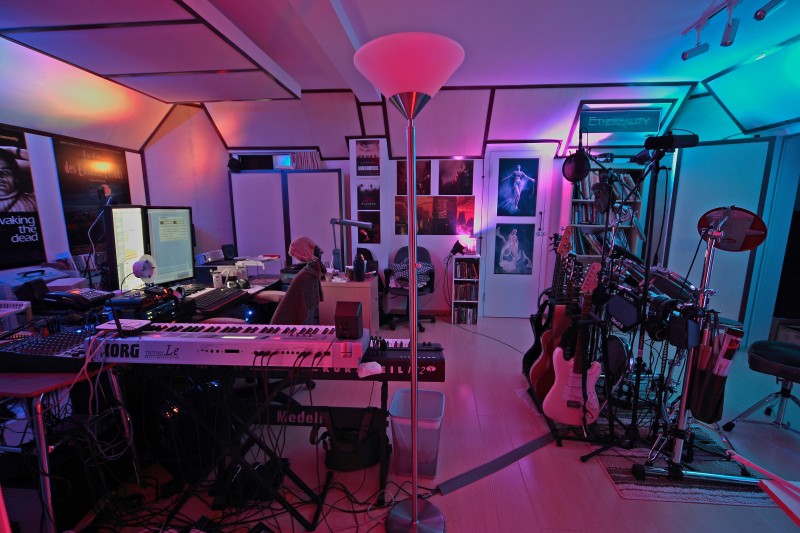
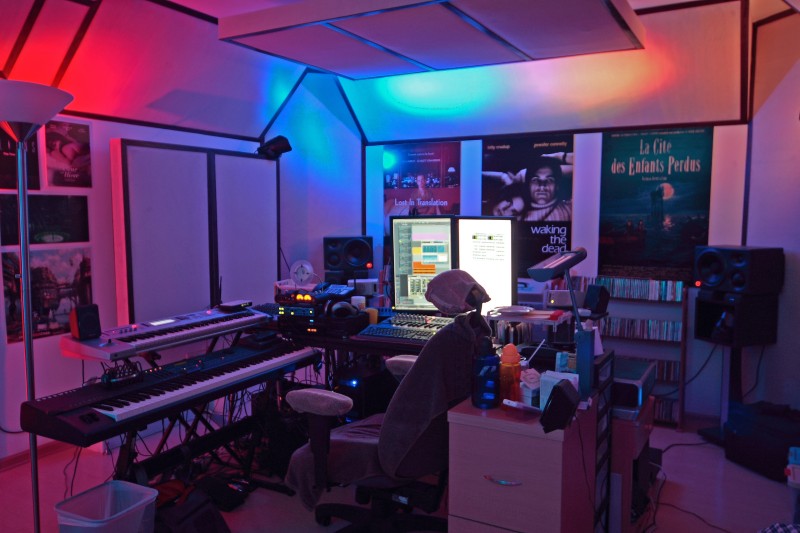
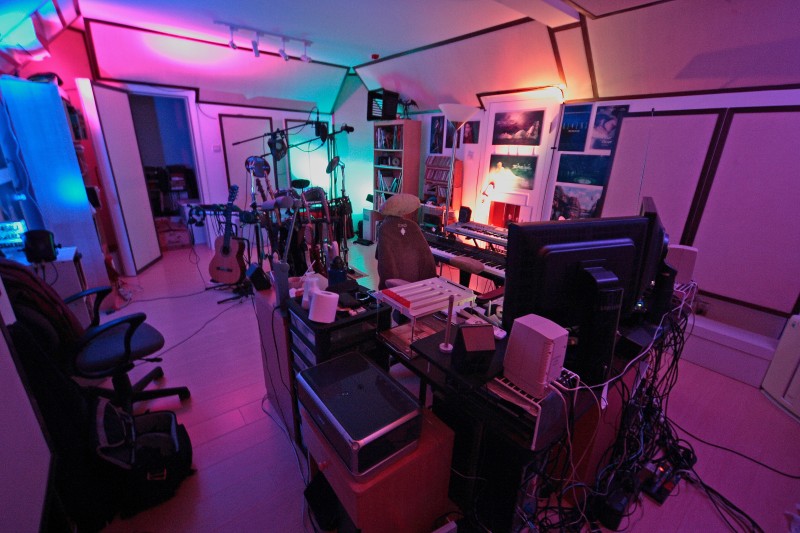
And finally, the finished result:
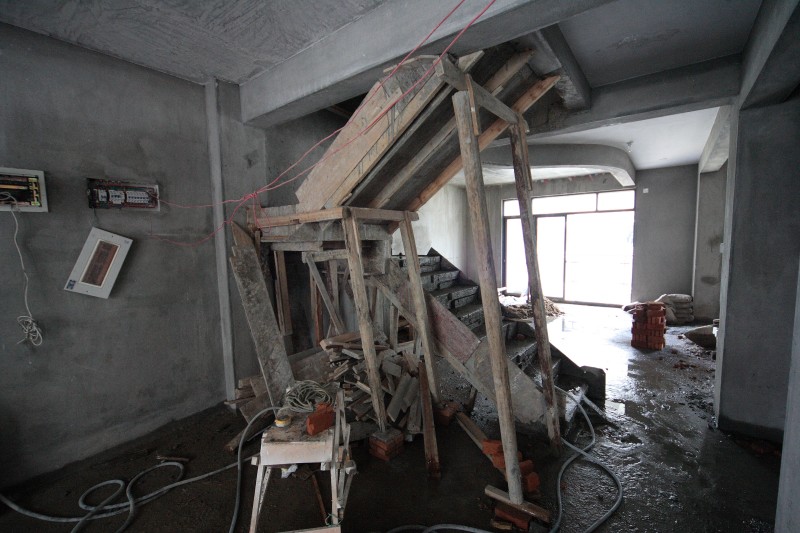
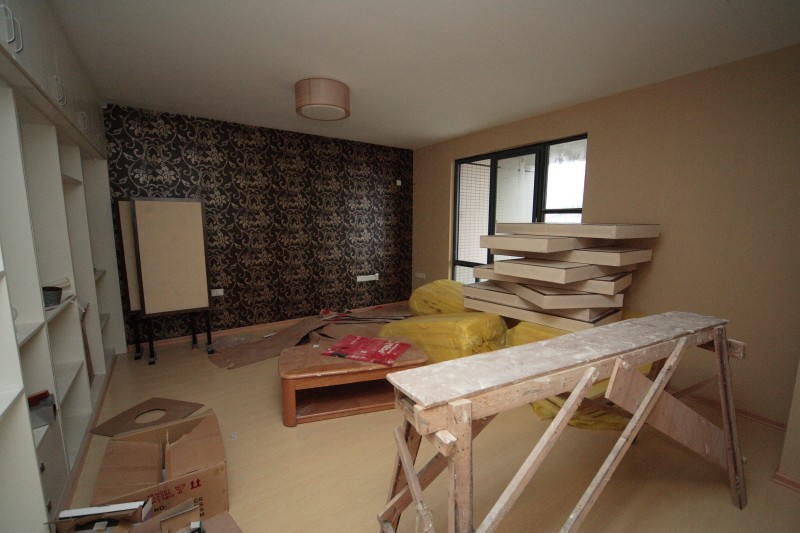
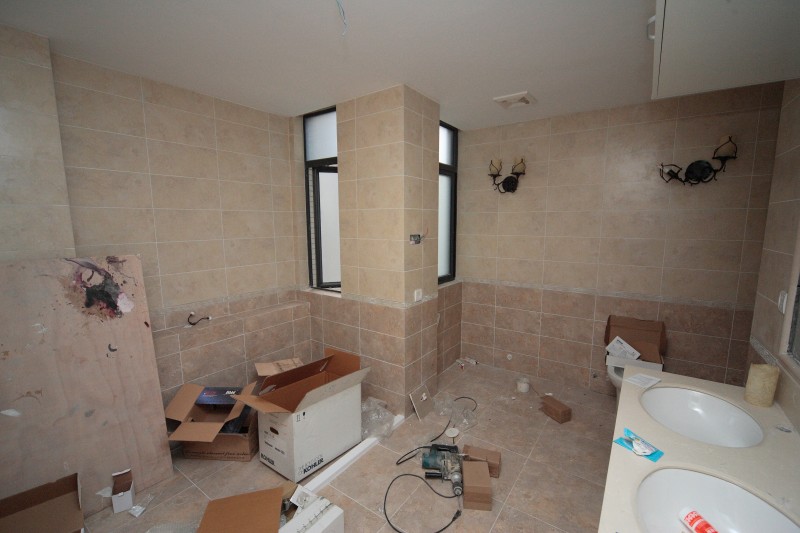
The rest of the home during construction:
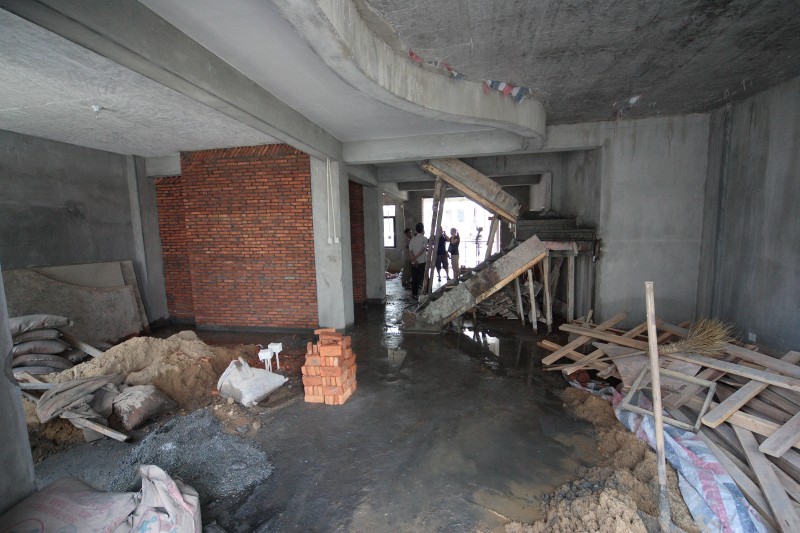
Contractors taking their afternoon nap. It's a weird tradition here--that you "officially" have two hours of rest time during lunch, and it's even illegal to be doing construction during that time because your neighbors won't be able to take their afternoon nap.
